August 2016
Window Boards
19/08/16 17:56
The last two weeks have been taken making Window Boards. Every Window is different which slows the process but the main reason for the time taken is our limited ability to fix the boards. The process commences with cutting the oak boards to approximate length and then cutting the holes for the biscuits. (Glenys is making sure the edges are clean in the photo below)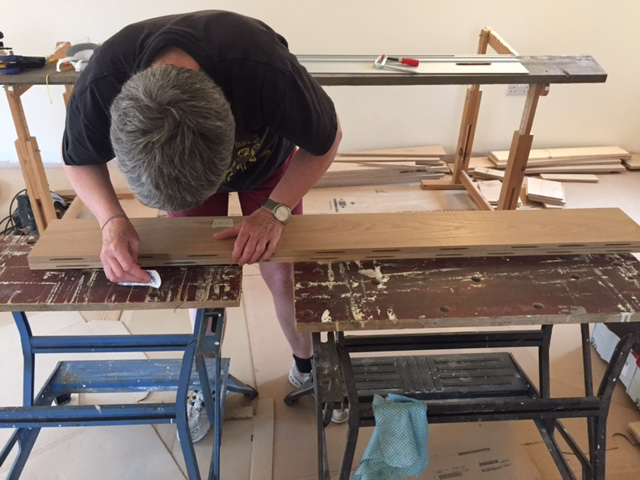
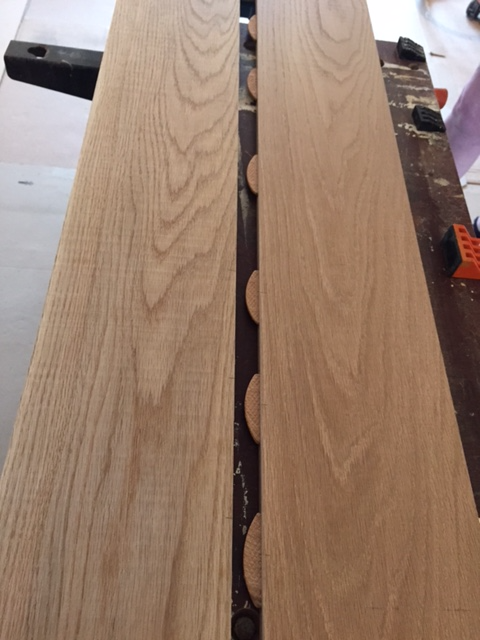
We then dry assemble to check for any problems - so far just two boards have distorted such that we had trouble aligning them prior to glueing. photo below show the dry assembly
We usually glue and clamp up the boards and leave them overnight. The long boards require both the Workmates for support.

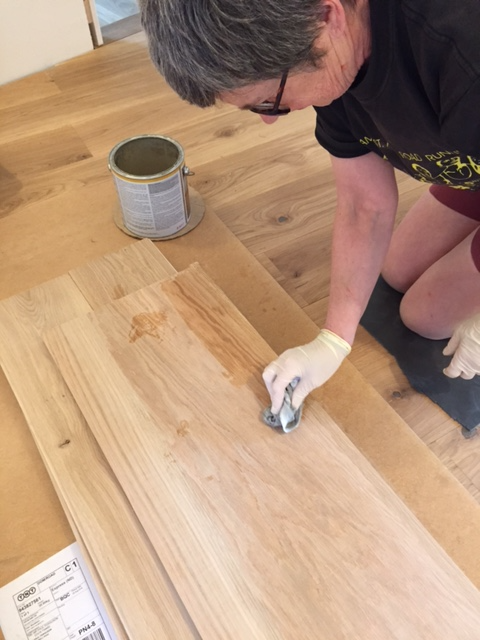
We then fix the 36mm Edge using more biscuits and again leave clamped up. (To mitigate Thermal Bridges we mostly use 12/15/18/20mm boards fixed with a 36mm deep edge. The complete board is then given a quick sand and then two coats of oil are applied (below).
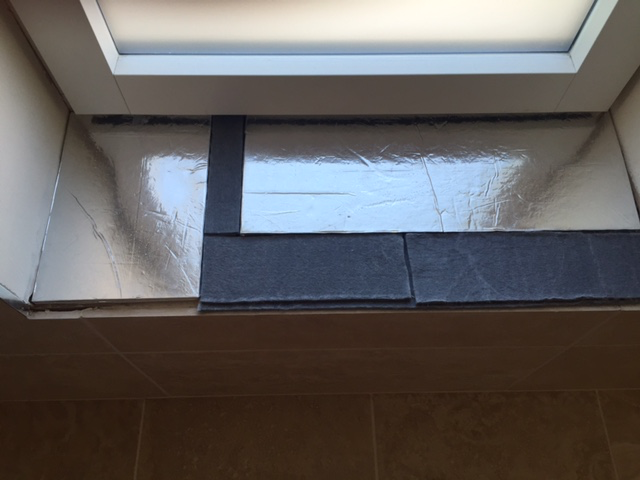
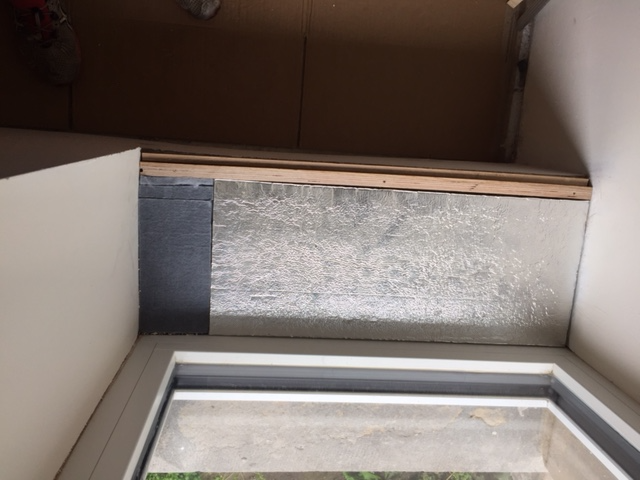
The complete board then has to be fixed in place. This is not easy since we can't use anything part from adhesive (to avoid puncturing the Air Tightness Tape or even worse puncturing a Vacuum Insulation Panel(VIP). The front elevation is the most crucial because of the Internal Insulation and the 'wrong' installation of the windows in the outside element. (But in the same position as the original windows) This means the reveals, head, and cill are adjacent to uninsulated stonework. The head and reveals already have been insulated with Vacuum Insulation Panels which leaves the cills. This is a slow process. Firstly a reference has to be identified for the top face of the Window Board - to both align with other elements and permit Windows to open. This then allows the cill to be filled with insulation to the correct depth. The en-suite window (below) opens which reduces the total depth available. We are using the VIPs we have left - ideally each cill would have a bespoke VIP. The two VIPs below are 10mm thick. What isn't shown are the two additional layers of 5mm Aerogel below the VIPs. So, thermally, the worst case here is 20mm Aerogel insulation - best case 10mm VIP/10mm Aerogel.
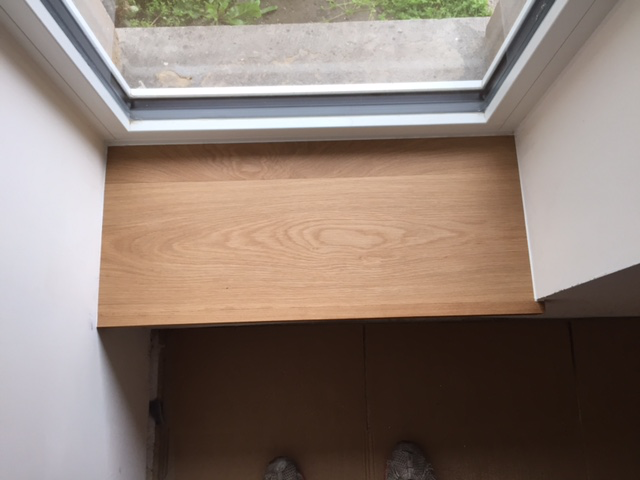
The Hall Window is shown below and here we have a 25mm VIP with the rest of the area filled with 25mm Aerogel - the windows on the ground floor front elevation are fixed and enable the Window Boards to be fitted 'higher'.
Finished board in situ below.
We then dry assemble to check for any problems - so far just two boards have distorted such that we had trouble aligning them prior to glueing. photo below show the dry assembly
We usually glue and clamp up the boards and leave them overnight. The long boards require both the Workmates for support.
We then fix the 36mm Edge using more biscuits and again leave clamped up. (To mitigate Thermal Bridges we mostly use 12/15/18/20mm boards fixed with a 36mm deep edge. The complete board is then given a quick sand and then two coats of oil are applied (below).
The complete board then has to be fixed in place. This is not easy since we can't use anything part from adhesive (to avoid puncturing the Air Tightness Tape or even worse puncturing a Vacuum Insulation Panel(VIP). The front elevation is the most crucial because of the Internal Insulation and the 'wrong' installation of the windows in the outside element. (But in the same position as the original windows) This means the reveals, head, and cill are adjacent to uninsulated stonework. The head and reveals already have been insulated with Vacuum Insulation Panels which leaves the cills. This is a slow process. Firstly a reference has to be identified for the top face of the Window Board - to both align with other elements and permit Windows to open. This then allows the cill to be filled with insulation to the correct depth. The en-suite window (below) opens which reduces the total depth available. We are using the VIPs we have left - ideally each cill would have a bespoke VIP. The two VIPs below are 10mm thick. What isn't shown are the two additional layers of 5mm Aerogel below the VIPs. So, thermally, the worst case here is 20mm Aerogel insulation - best case 10mm VIP/10mm Aerogel.
The Hall Window is shown below and here we have a 25mm VIP with the rest of the area filled with 25mm Aerogel - the windows on the ground floor front elevation are fixed and enable the Window Boards to be fitted 'higher'.
Finished board in situ below.
August update
05/08/16 17:37
Good news - the house has been signed of by the Building Inspector and we have our Completion Certificate. However the house is still not complete despite Glenys and I spending most of the week on the remaining tasks.
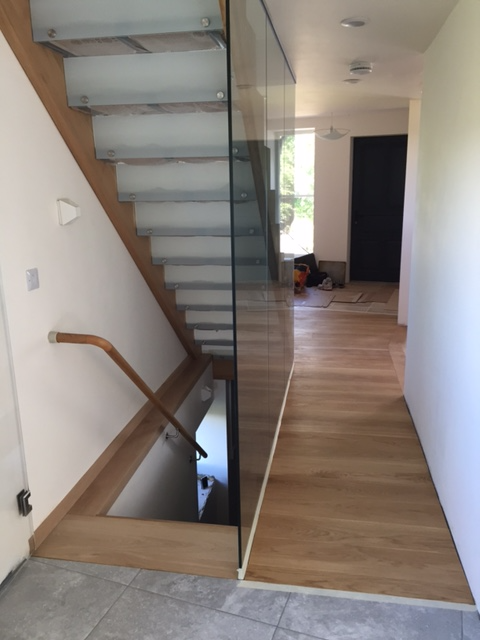
We have been focusing on the wood flooring and the ground floor and basement stair area are now finished. (Photo below taken below oiling the floor on the left)
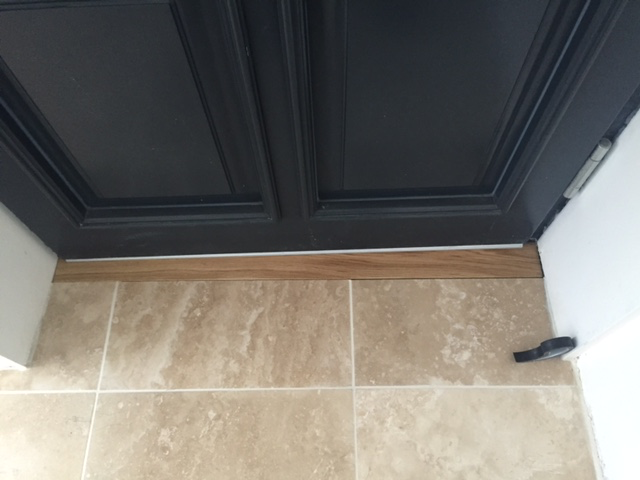
Thermal Bridge analysis suggested that stopping the Travertine before the front door threshold and inserting a strip of oak would reduce overall heat loss. This has been duly done with extra aerogel inserted around the periphery.
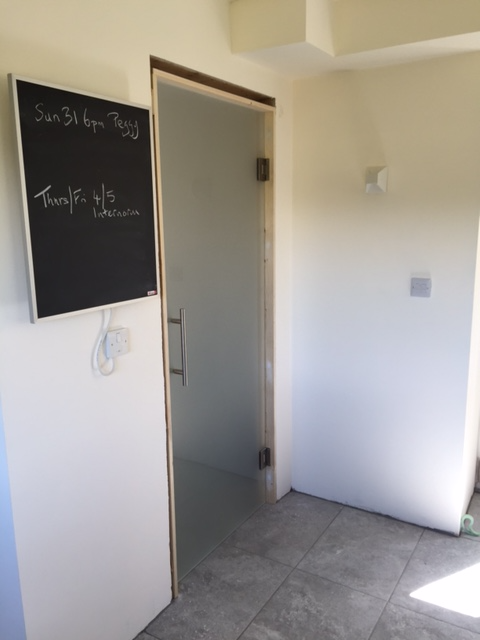
The three internal doors to Guest Bedroom, Bathroom and the WC have also been installed but the architraves still have to be fitted. The sand blasted doors offer privacy but cut out little light. They also complement the clear glass door to the Basement.
Competition of the flooring to the First Floor is current top priority and the Mitre Saw and Circular Saw are set up in the Lounge Workshop. The Lounge/Dining Room gives all the room we need for ripping the 2m Oak Floorboards. Its also useful for the other tools we keep using - the Fein Multitool, Mafell Jigsaw and the Lamello Biscuit jointer.
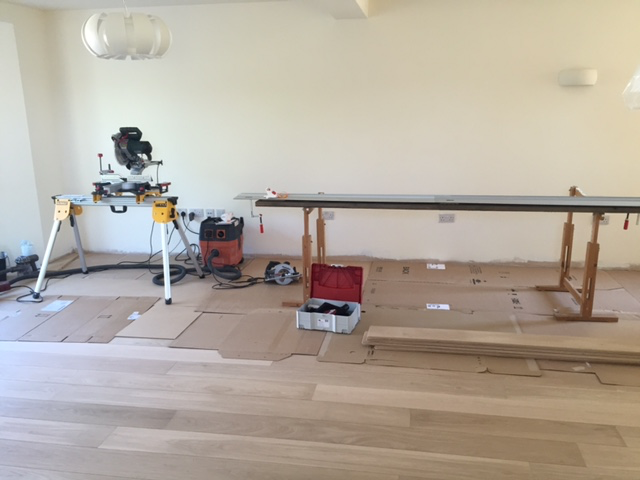
The Dust extractor is the tool most heavily used and this is complemented by the Dyson cordless. Despite our best endeavours the house will need serious cleaning before we move in.
We have been focusing on the wood flooring and the ground floor and basement stair area are now finished. (Photo below taken below oiling the floor on the left)
Thermal Bridge analysis suggested that stopping the Travertine before the front door threshold and inserting a strip of oak would reduce overall heat loss. This has been duly done with extra aerogel inserted around the periphery.
The three internal doors to Guest Bedroom, Bathroom and the WC have also been installed but the architraves still have to be fitted. The sand blasted doors offer privacy but cut out little light. They also complement the clear glass door to the Basement.
Competition of the flooring to the First Floor is current top priority and the Mitre Saw and Circular Saw are set up in the Lounge Workshop. The Lounge/Dining Room gives all the room we need for ripping the 2m Oak Floorboards. Its also useful for the other tools we keep using - the Fein Multitool, Mafell Jigsaw and the Lamello Biscuit jointer.
The Dust extractor is the tool most heavily used and this is complemented by the Dyson cordless. Despite our best endeavours the house will need serious cleaning before we move in.